


Test of a dynamic content allows to see which items attract your customers’ attention and encourages them to perform a particular action effectively (eg . click and go to the next sub).
The maximum number of banners we can check during a banner test all at once is four. Banners will be selected randomly. Clicks in the banner of the tests will be counted automatically. In the test, we can set proportions for our banners to be displayed before and after the test. For example, we can decide that banner with the highest ratio of clicks (CTR), will be showed predominately.
To start a test go to Website Marketing => Dynamic Content Tests, and choose Personalized banners tests.

The entire process of testing dynamic content consists of five stages: [A] TEST NAME, [B] PERSONALIZED BANNERS, [C] VIEW SETTINGS DURING TEST, [D] VIEW SETTINGS AFTER TEST, [E] CODE ON YOUR WEBSITE.

Choose the tab [A] TEST NAME

[1] Test name – type test name and click Next.
[B] PERSONALIZED BANNERS
At this stage add banners that you want to test.

[2] Name – type the name of the first commercial banner.
[3] Target URL – choose URL destination address that the banner will direct you to.
[4] Graphic – choose an image that will create the banner – to add an image click Gallery.
If all of the above steps are done correctly, click Add to add the banner to the list of the elements included in the test.
NOTE: The maximum number of banners we can check during a test is four.
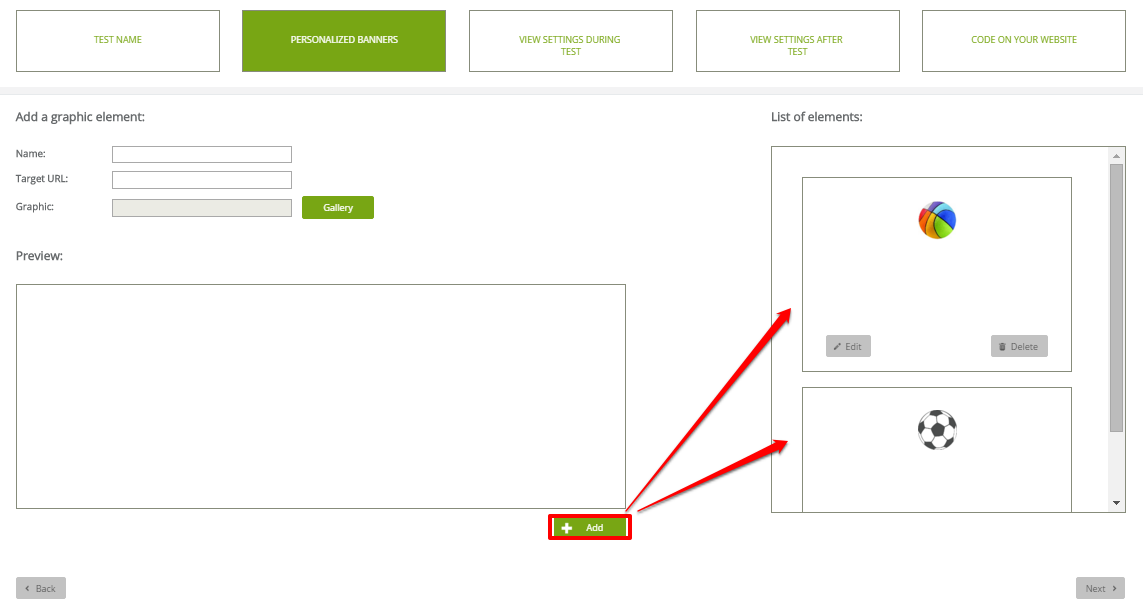
When the image is added click Next.
[C] VIEW SETTINGS DURING TEST

[5] Test end date – provide an information when the test will be ended.
[6] Display percentage during test – use sliders to set the percentage of the users that the banner will appear to during test.
When the number of viewing is done, click Next to confirm.
[D] VIEW SETTINGS AFTER TEST
Here, you can specify the proportions of the personalized banners which should appear after the test. Their order is determined by the CTR reached during the test. Total percentage should be 100% .
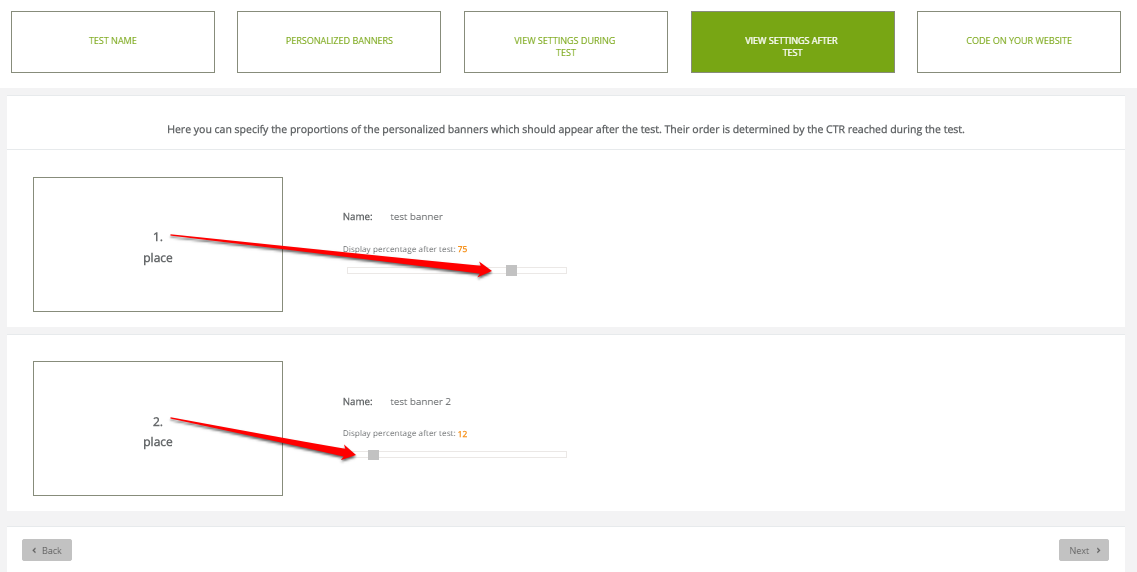
When proportions are specified, click Next.
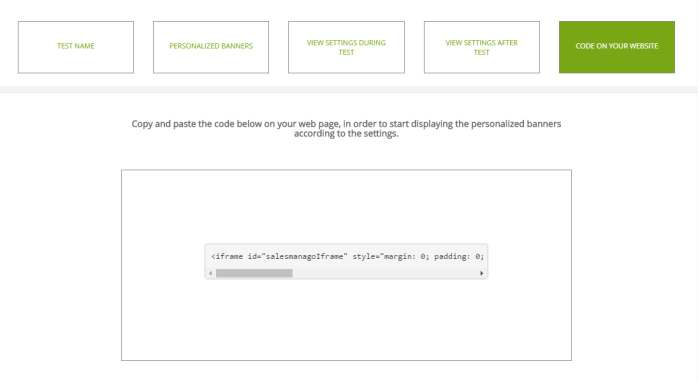
[E] CODE ON YOUR WEBSITE
As soon as the test is set, the code will be generated. Copy and paste the code below to your web page, in order to start displaying the personalized banners according to the settings. The test will start as soon as the code is paste correctly, and will last until the date chosen previously in the tab – view settings during test. At this point the first banner to be displayed will be the one with the highest CTR.
Submit your review | |