


This article explains how to read the analytics of email A/B tests.
A/B tests are one of the best tools for optimizing email communication and improving the effectiveness of email campaigns. You can run an A/B test using any two emails from the Standard tab of the Email List.
To see the results of an A/B test, go to
Email Marketing → Email List → A/B tests
Contents
1. Getting started
On the SALESmanago platform, you can conveniently run A/B tests of emails, which allow you to check the performance of two email variants on a small percentage of the intended recipients. The most common practice is to prepare two email variants that differ in small details, such as the subject or the main banner, and determine which variant is more successful in terms of the open rate (OR) or the click-through rate (CTR).
TIP: If you want to test the effectiveness of the email subject, or determine the best sending time, consider selecting the winning email based on the higher OR.
If you want to test the effectiveness of the email content, consider selecting the winning email based on the higher CTR.
The winning email can be sent to the remaining intended recipients (i.e., those Contacts who have received neither of the tested emails).
Read about how to configure and send an email A/B test >>
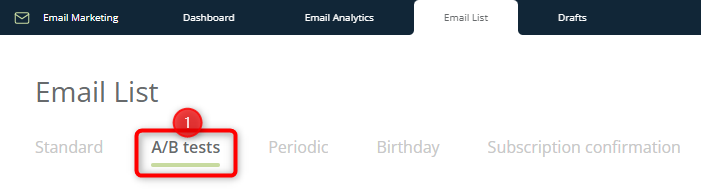
Whether your A/B test is still running or has been completed, you can check its current results and compare the performance of the two email variants tested. To do so, go to Menu → Email Marketing → Email List and select the A/B tests tab [1].
You will see a list of completed and ongoing A/B tests.
Here, you can check basic information about each test, as well as create a new test by clicking the + New A/B test button in the top right-hand corner of the screen.
Read more about the Email List >>
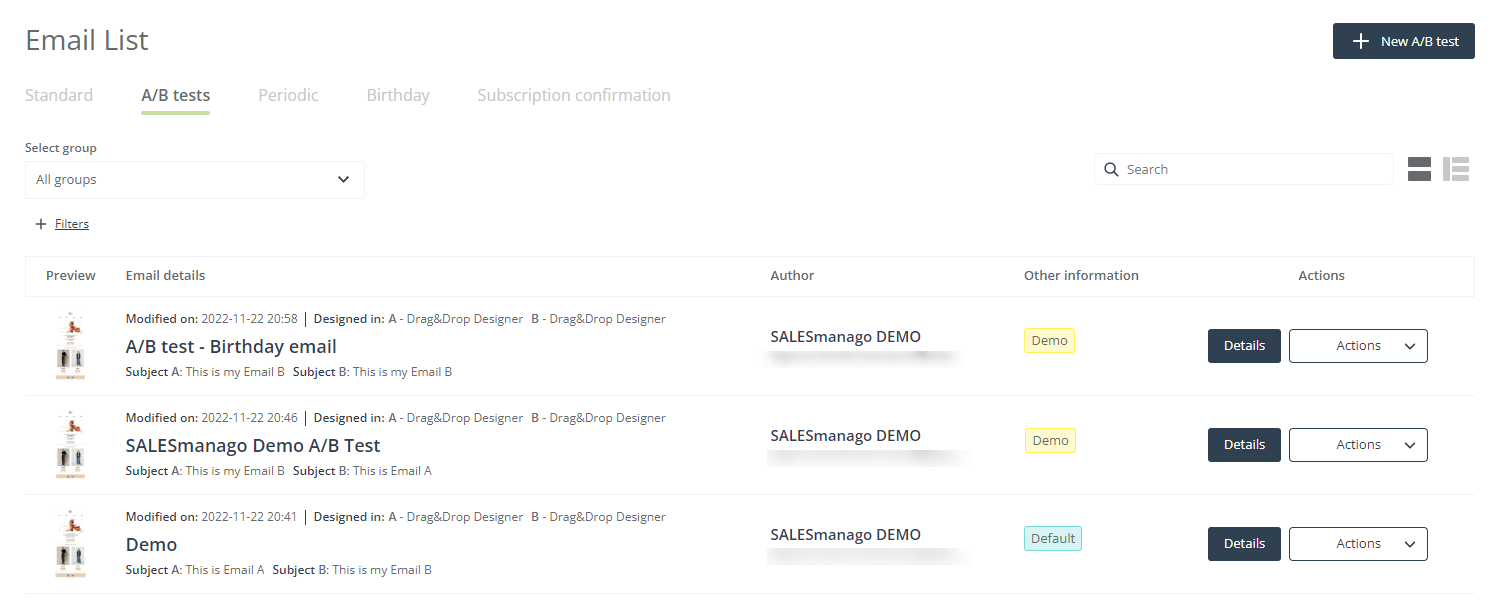
To check the results of an A/B test, find that test on the list.
TIP: To quickly find an item on the list, use the search box [A]. If you have any A/B test groups, you can narrow the list by selecting a group from the drop-down menu [B]. You can also apply one or more filters [C].

When you have found the test of interest, click Details [1] in the Actions column.

A new window—containing the complete analytics of the selected A/B test—will open (see section 2 below).
2. Email A/B test analytics
The window that opens after clicking on Details has three tabs:
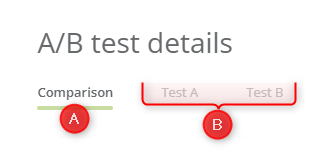
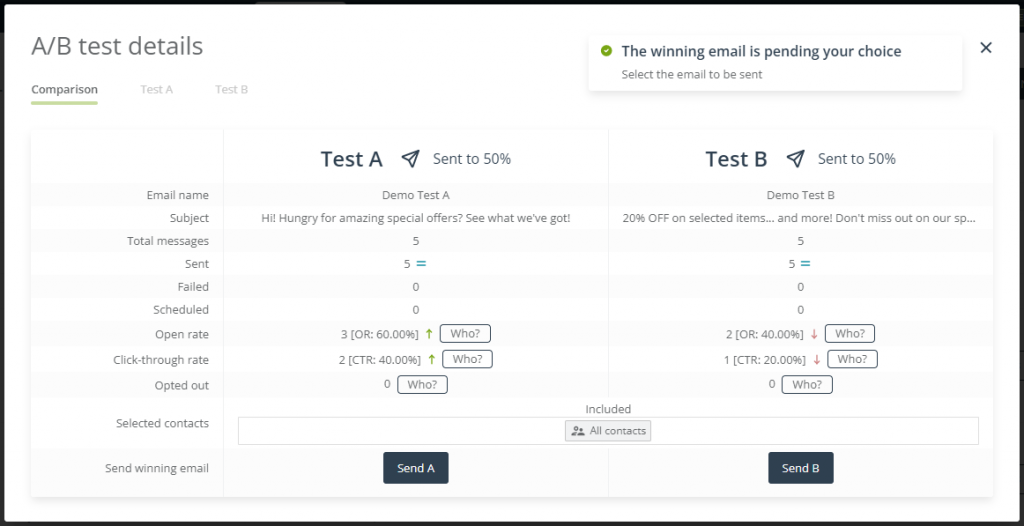
The Comparison tab [A] contains the detailed results of the A/B test, presented in the form of a convenient table:

In addition to the names and subjects of the two emails, you can see the following data:
- Total messages—the number of emails sent as part of the A/B test.
- Failed—the number of messages that could not be sent successfully (hard bounce).
- Scheduled—the number of messages that remain to be sent at the date and time specified in the A/B test settings.
- Open rate—the ORs achieved by the two email variants. Click the Who? buttons to see the list of Contacts who opened the emails.
- Clickthrough rate—the CTRs achieved by the two email variants. Click the Who? buttons to see the list of Contacts who clicked on a link included in the emails.
- Opted out—the number of Contacts who clicked the opt-out link. Click the Who? buttons to see the list of Contacts who opted out.
- Selected Contacts—here, you can see the segments, selectors, and filters applied to define the group of recipients for the A/B test.
If you did not choose to send the winning variant automatically when configuring the email, you can send it now. Compare the results achieved by the two variants and send the winning email to the remaining Contacts (i.e., Contacts who have received neither of the emails).
The last row in the table (Send winning email) contains two buttons:

If you decide that Test A has performed better, click Send A; if you decide that the results of Test B are more satisfactory, click Send B. In either case, the email will be sent (or scheduled) immediately after you click the selected button.
If you want to track the email’s further performance, go to Email Marketing → Email Analytics → Sent.
Read more about Email Analytics >>
Tabs [B] contain a preview of and basic information about the two email variants tested:

Click Test A or Test B to see what the emails look like on various devices, review their details: name and group, and review their settings: sender account, subject, and preheader.