


Useful links
Personalized banners allow you to tailor the content from the newsletter or on your website to specific user’s interests. This content can be adjusted by the segmentation tool or the stage of the funnel where the contact belongs. The content can also be adjusted to the automation rules tool.
To create personalized banners go to Website Personalization -> Personalized Banners.
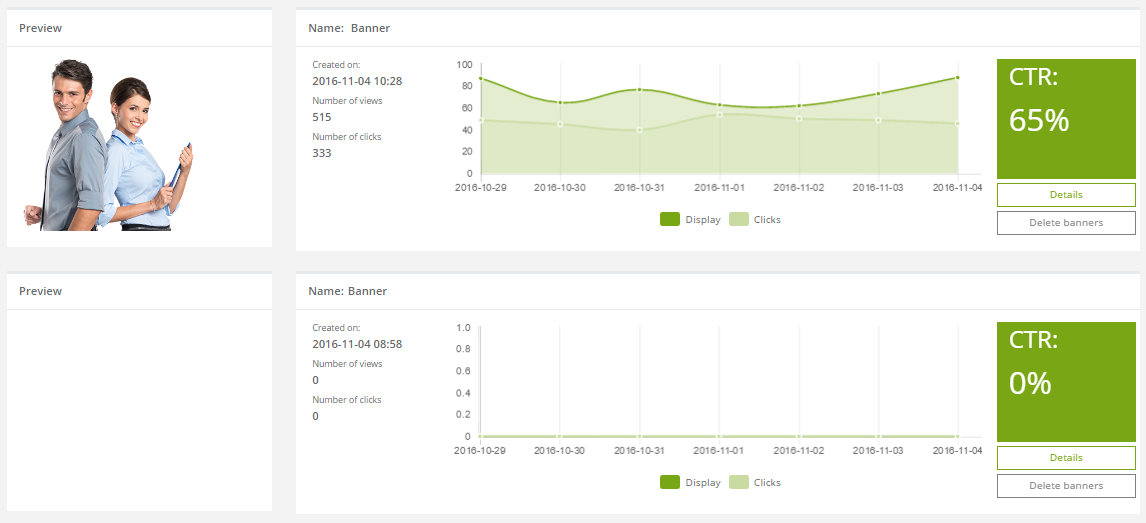
At the beginning the chart with displays and clicks information in chosen time period will be visible.
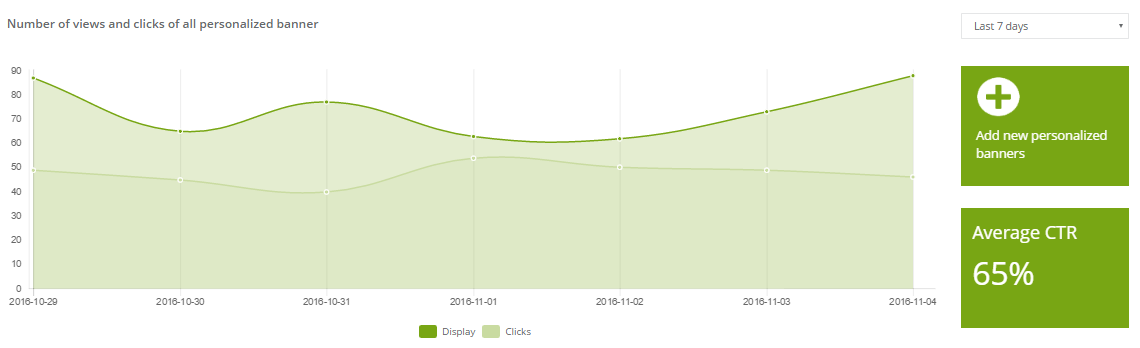
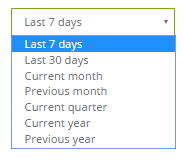
You can adjust time period choosing:
You can also view CTR (click through rate), displayed banners to clicked banners ratio.

In order to create new banner choose Add new personalized banners.
After clicking on the button new personalized banner you are then taken to banner settings.
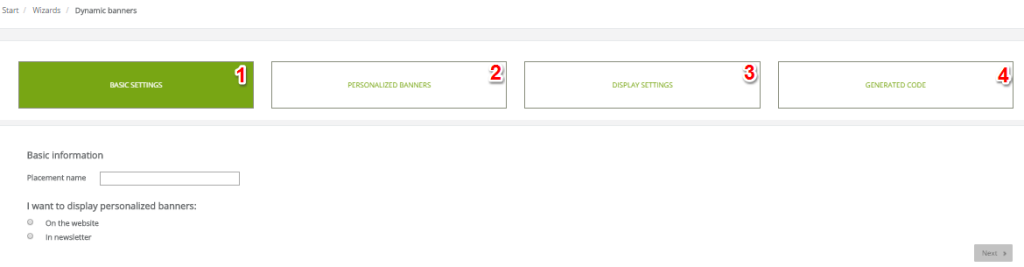
[1] BASIC SETTINGS
Type in where the display will take place (the name of the created banners group) and fill out information on whether personalized banners you want to display on the website or in the newsletter. In order to proceed, select the ‘Next’ button.

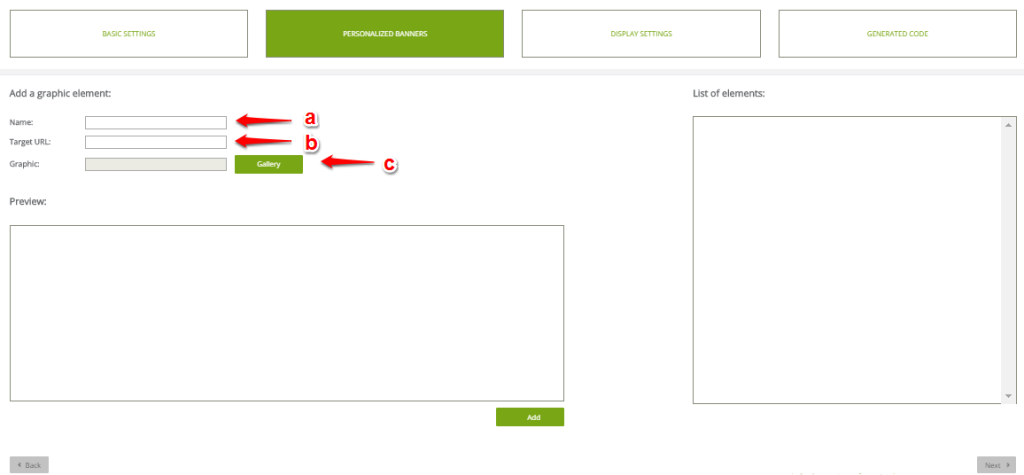
[2] PERSONALIZED BANNERS
Provide:
[a] name – enter the name of the banner.
[b] target URL – the URL address to which the user will be redirected to after clicking on the banner.
[c] graphics – add a new one, or choose one from the file.
To add a banner click the ‘ADD’ button. There is no limit of the number of added banners. After adding all banners, click the ‘Next’.
[2] Display settings
Choose the group of contacts that you want your banners will be displayed to.
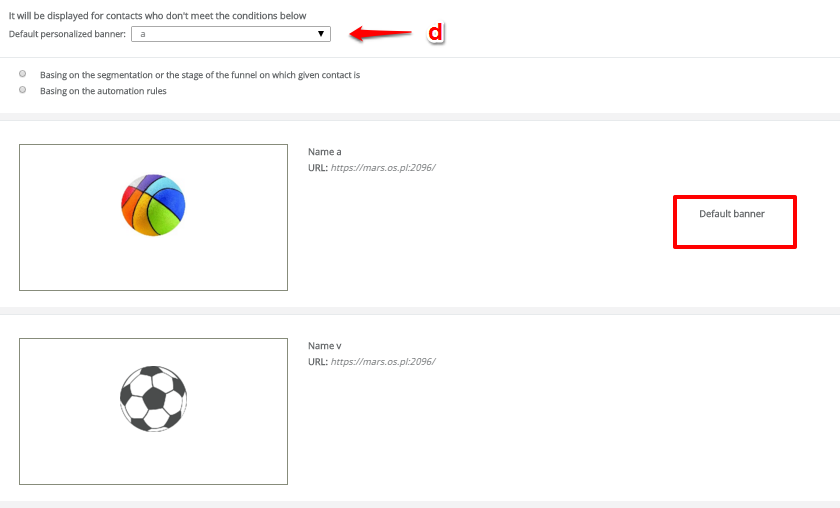
[d] It will be displayed for contacts who do not meet the conditions below – choose which banner is the default one (that banner will be displayed to contacts, which, for example, are not monitored or cannot meet the conditions that we have set for personalized banners).
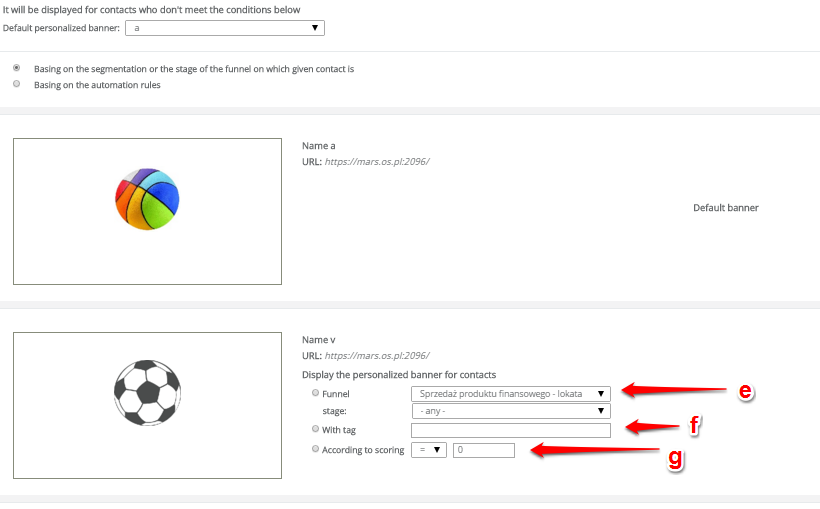
Based on the segmentation, or the stage of the funnel where the contact belongs – select this option if you want to display a banner to contacts that are placed on the specific campaign stage/sales funnel (created before) or those who have been segmented. If you select the option to view the contacts on the basis of segmentation or stage of the campaign, choose the campaign from the list of campaign [e] and the stage or tag [f] or scoring [g] , thanks to that your contacts will be matched.
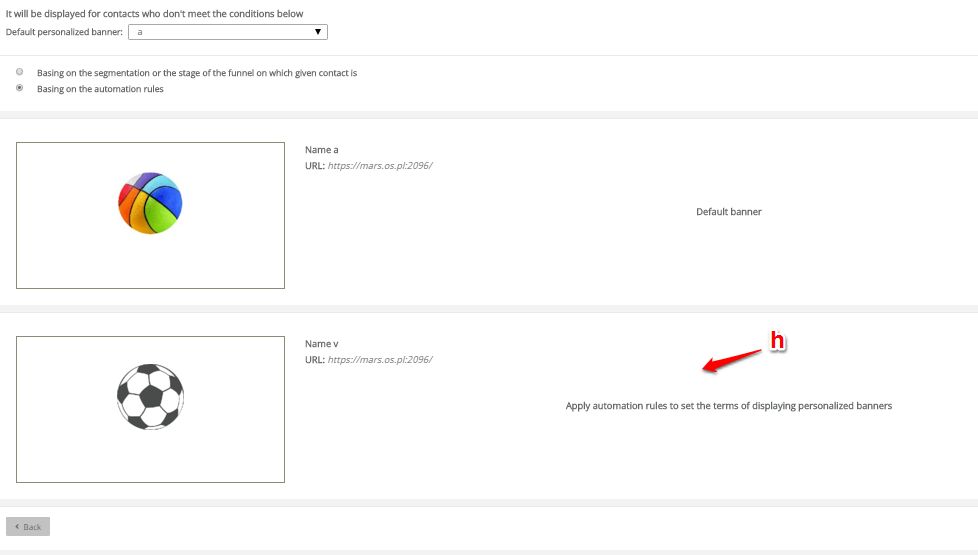
Select this option if you want to adjust your personalized banner content based on automation rules. (AUTOMATION PROCESSES – AUTOMATION RULES)
If you want to adjust the content of the banners according to the automation rules [h], go to the automation rules and set an appropriate rule – selecting action ‘view banner’.
After setting the content to continue, click Next .
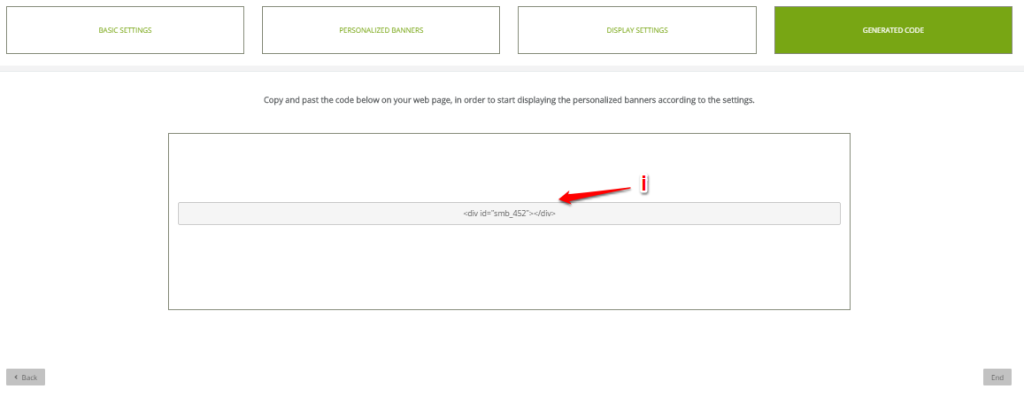
[4] Generated Code
Here, you will find the generated code that should be copied and pasted into a website to start displaying personalized banners according to the settings.
To confirm, press ‘End’.
PREVIEW OF ALREADY CREATED BANNERS
Go back to the main panel of the feature to see the list of already created banners, they display below the chart. At this place you can see the preview of particular banner. Next to the preview the chart showing displays and clicks will be visible, but also the date of creation, the number of displays and clicks, CTR ratio, Its details and possibility to delete the banner from the system.
INSERTING BANNER ONTO THE WEBSITE
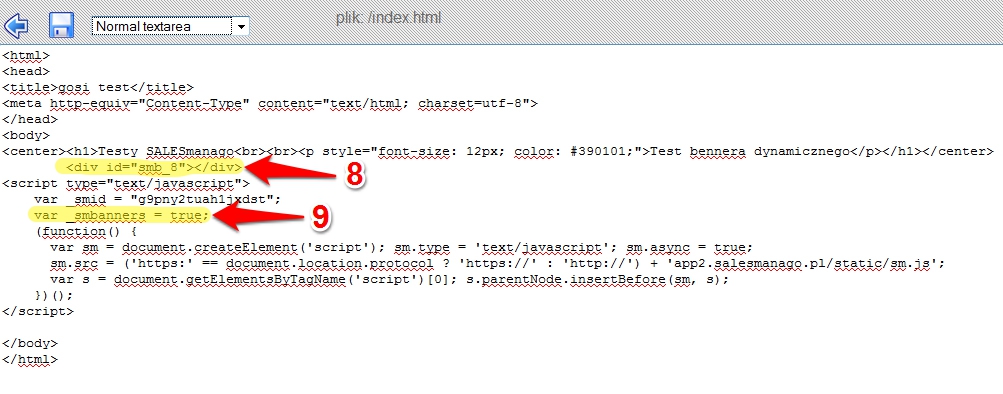
If you are setting the personalized banners options for the first time, please add this parameter to the monitoring code [9]
var _smbanners = true;
 This parameter should be pasted only once, no matter how many banners you want to display on a website.
Number [8] shows, for example, if the code has been pasted onto the page.
Placing the banner into the email
If you want to put the generated code into the email, paste this code into your email html code, according to the following schedule:
<a href=”$smb_8.clickUrl$“><img style=”display: block;” src=”$smb_8.imgUrl$” alt=”” width=”200″ border=”0″ /></a>
Where:
$smb_8.cickUrl$ – enter the URL attribute that measures the clicks on the banner.
$smb_8.imgUrl$ – here you should put URL of the image attribute banner.
Banner will be displayed in the message in the same way as on the website.